
We need an initial sketch of a hand lettering which can be quite rough as we can always adjust it on Illustrator. The sketch is only for a reference; we can tweak it anytime in the software. We’re going to scan the sketch and import it to Illustrator and then begin tracing it using the Pen tool (P).
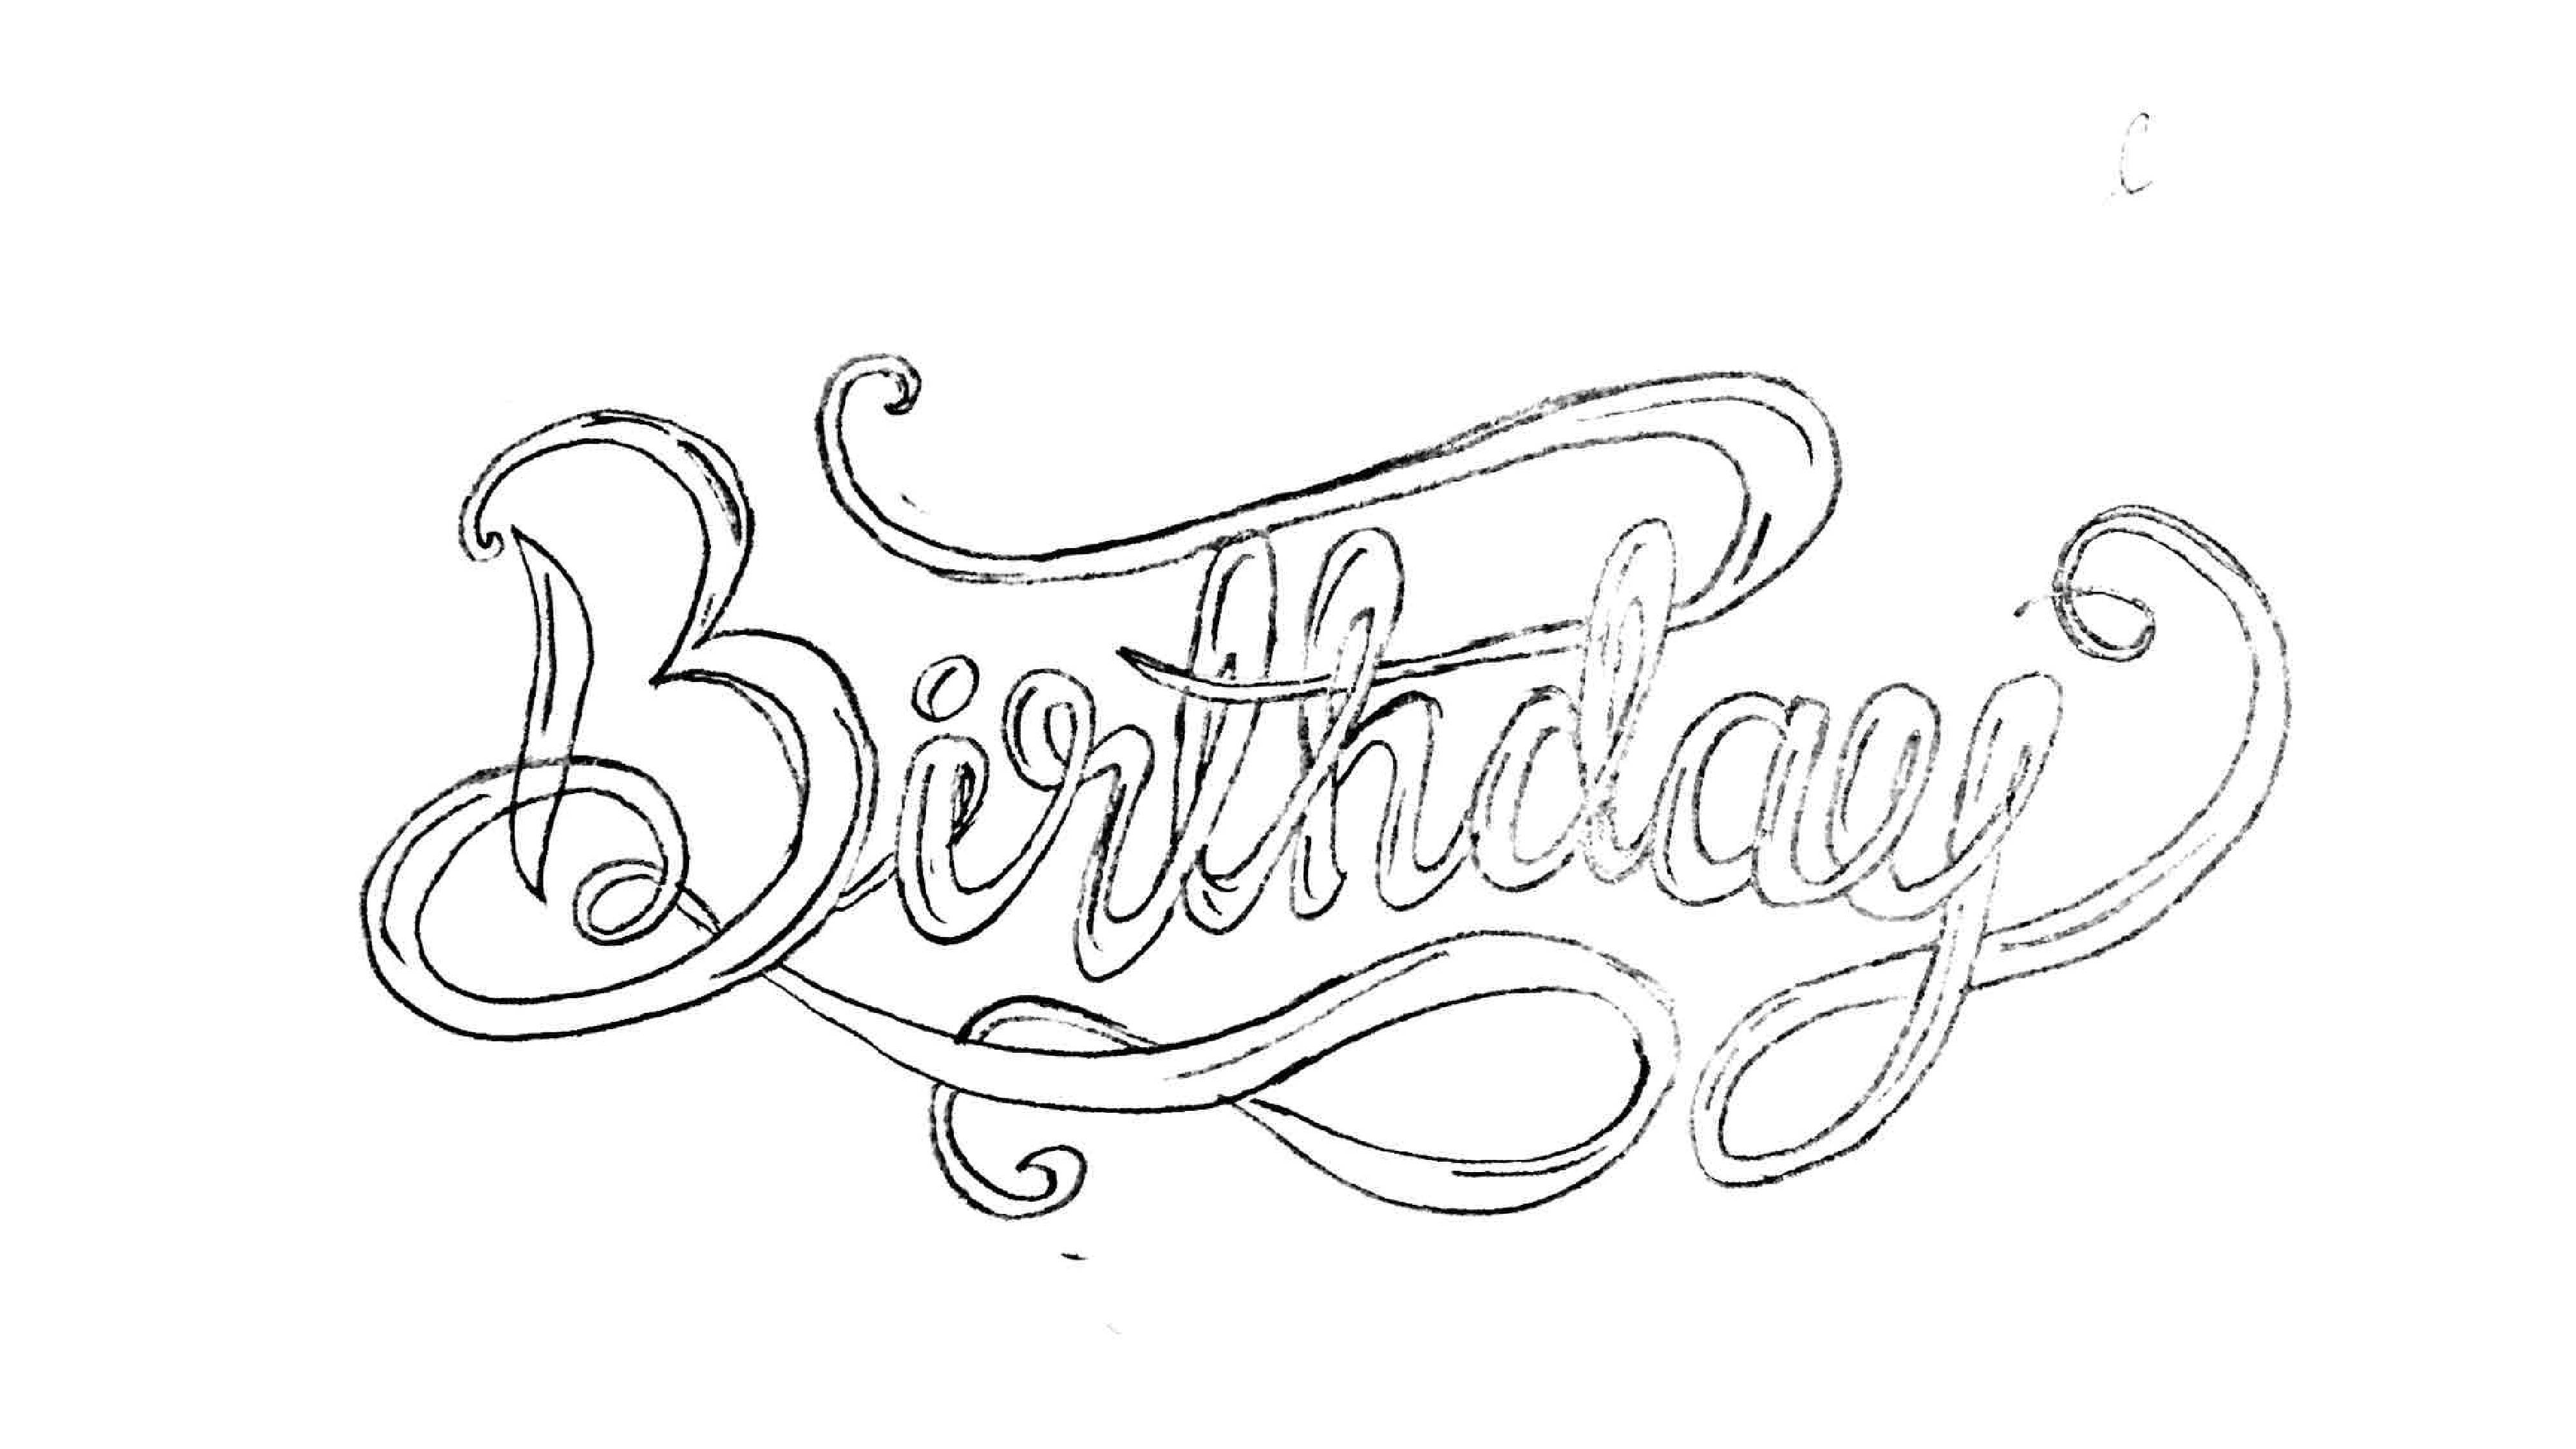
Here’s my hand lettering. You can use your own hand made letters or copy mine.
Vectorization
Step 1:
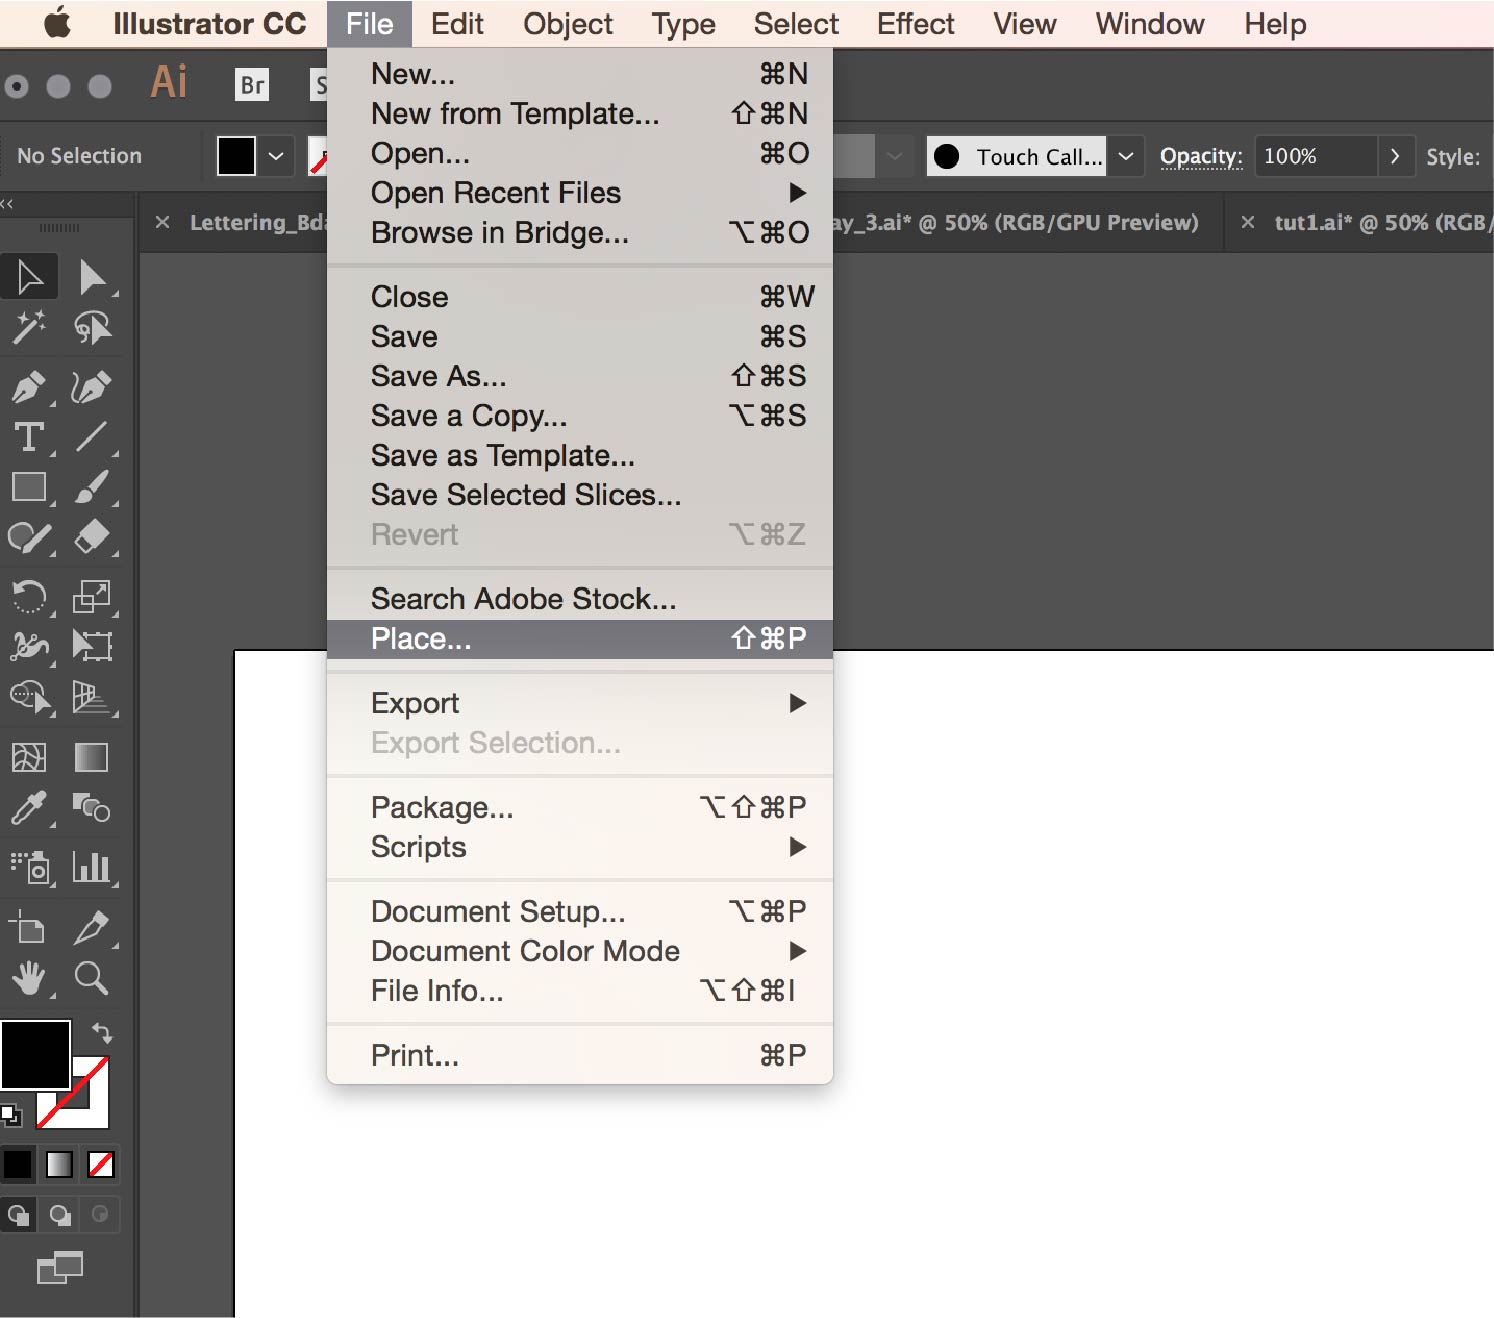
Create a new document and Import your scanned lettering art to Illustrator.
File > Place (select your file).
Step 2:
This imported image will help you to trace on it. Rename the layer as “background image” or anything that makes sense.
Reduce the opacity of this layer for a better visibility of your pen tool. Lock the layer.

Step 3:
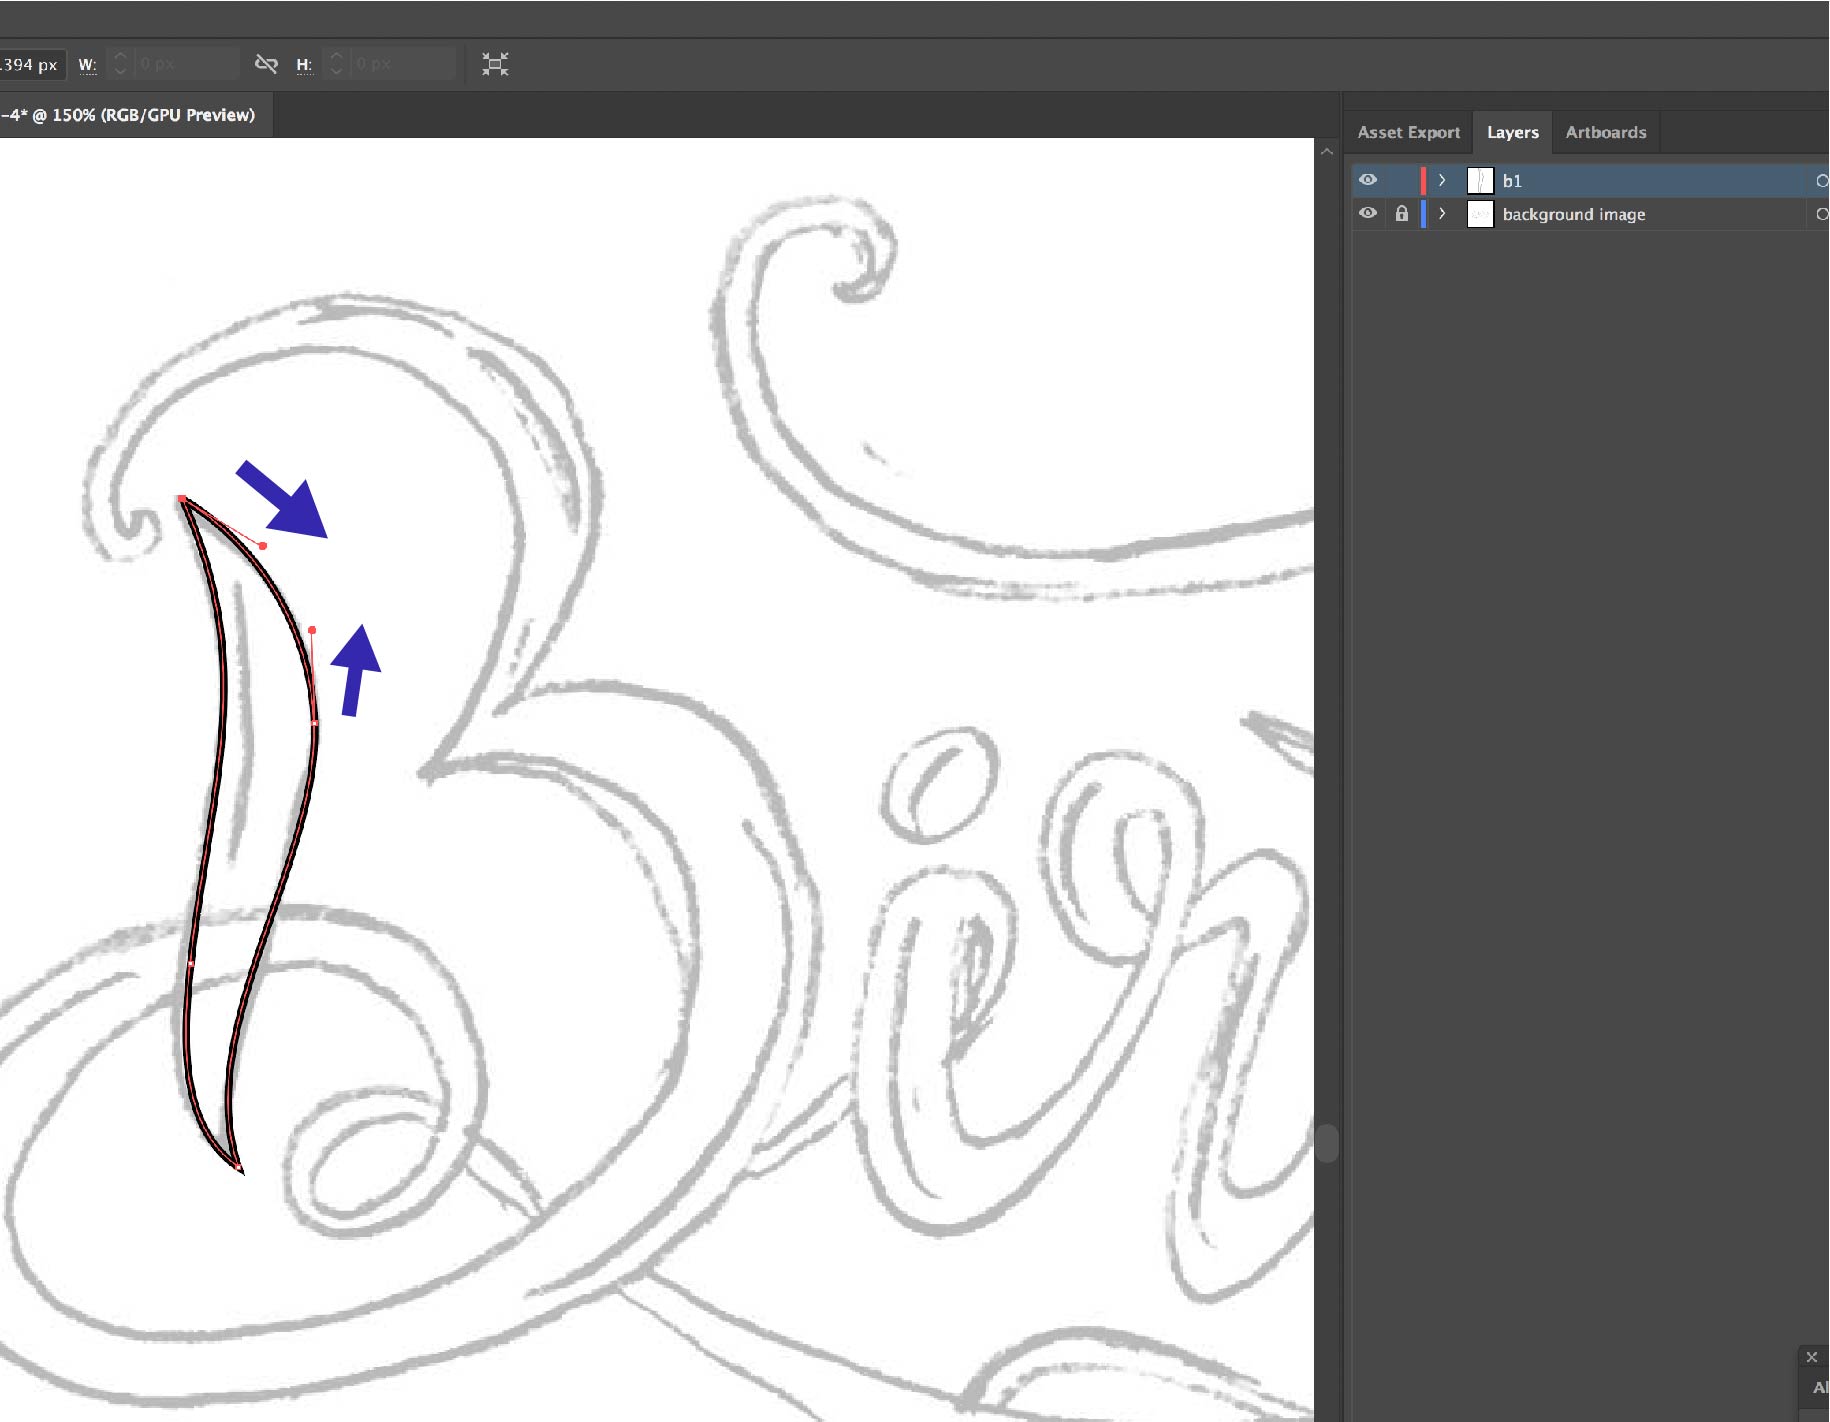
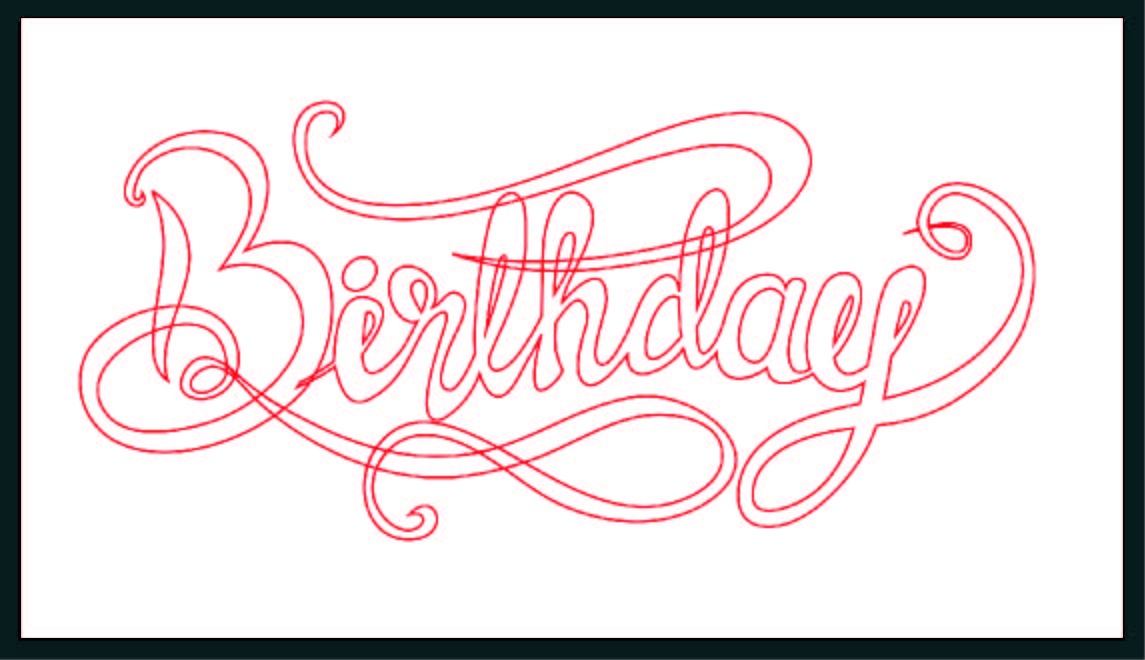
Create a new layer and start tracing the background image with the Pen tool (P).
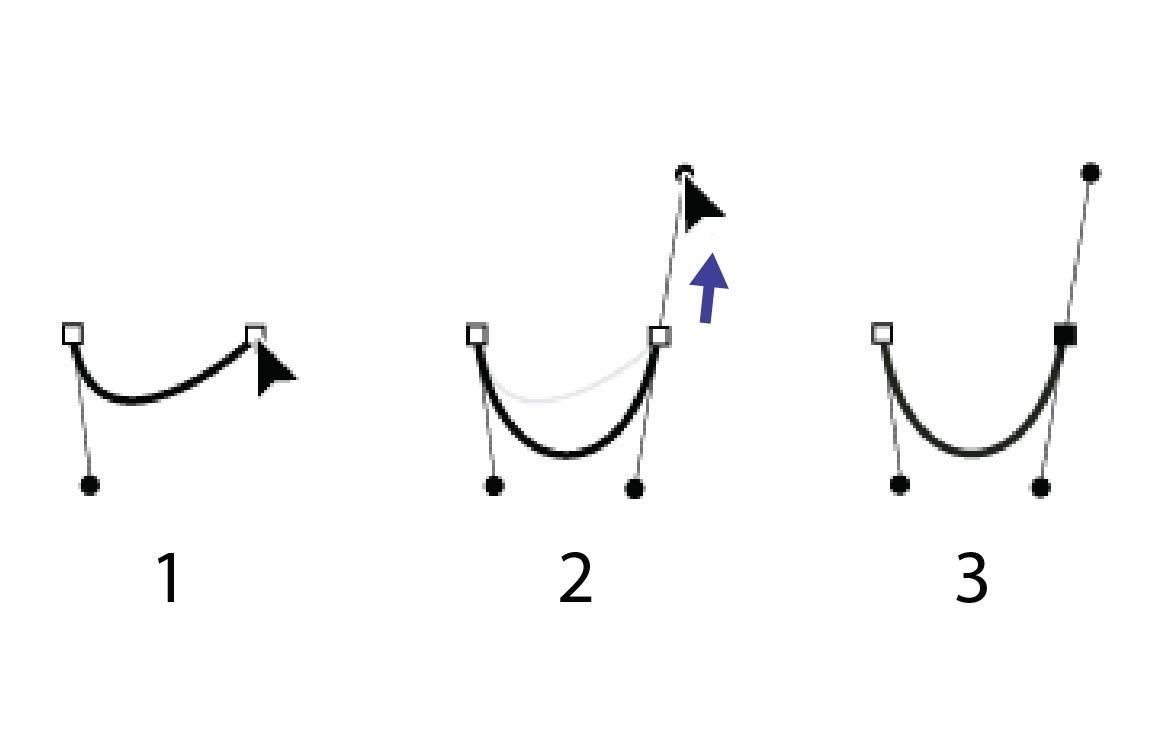
- Select the Pen tool (P)

- Position the Pen tool where you want the curve to begin. Then position the Pen tool where you want the curve segment to end. To create a C‑shaped curve, drag the handles in the opposite direction to the previous line. Then release the mouse.
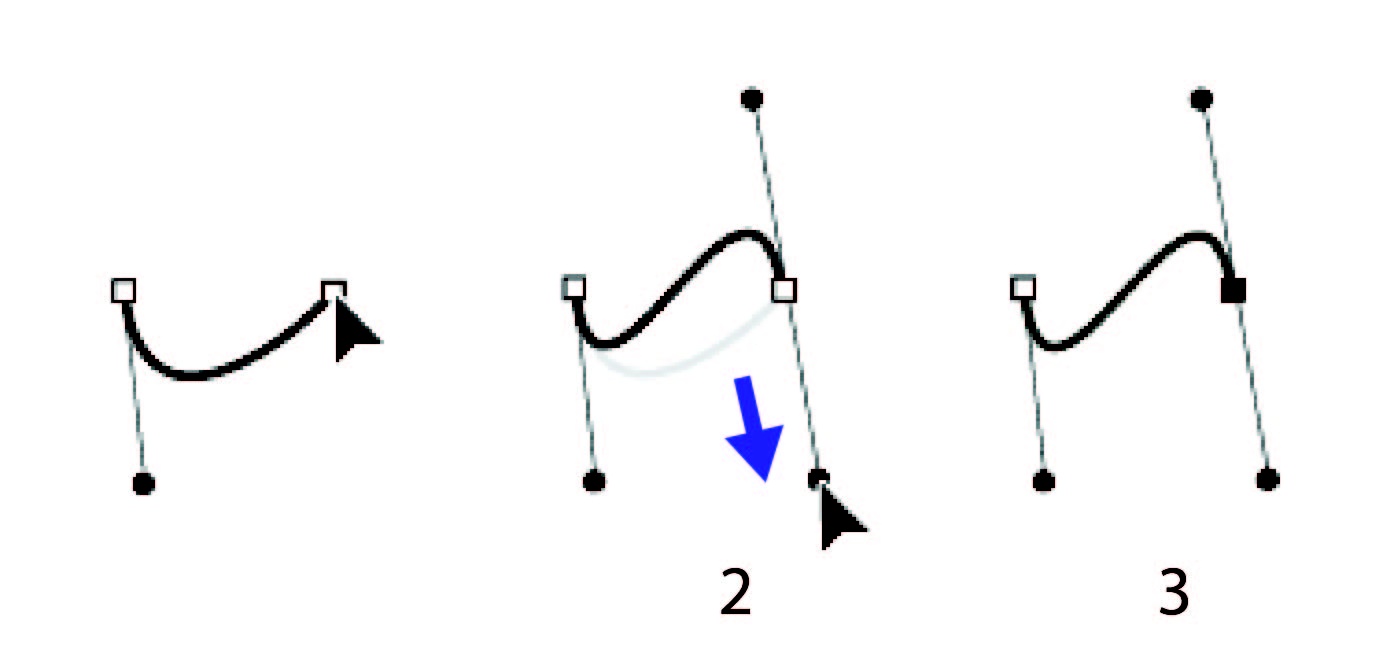
- Similarly, to create an S-Shaped curve, drag in the same direction as the previous line and release the mouse.
Step 4:
Keep adjusting the anchor points with the Anchor Point tool (Shift+C) to best match the sketch. It’s always preferable to make a separate layer for each closed path and we can merge them later if needed.
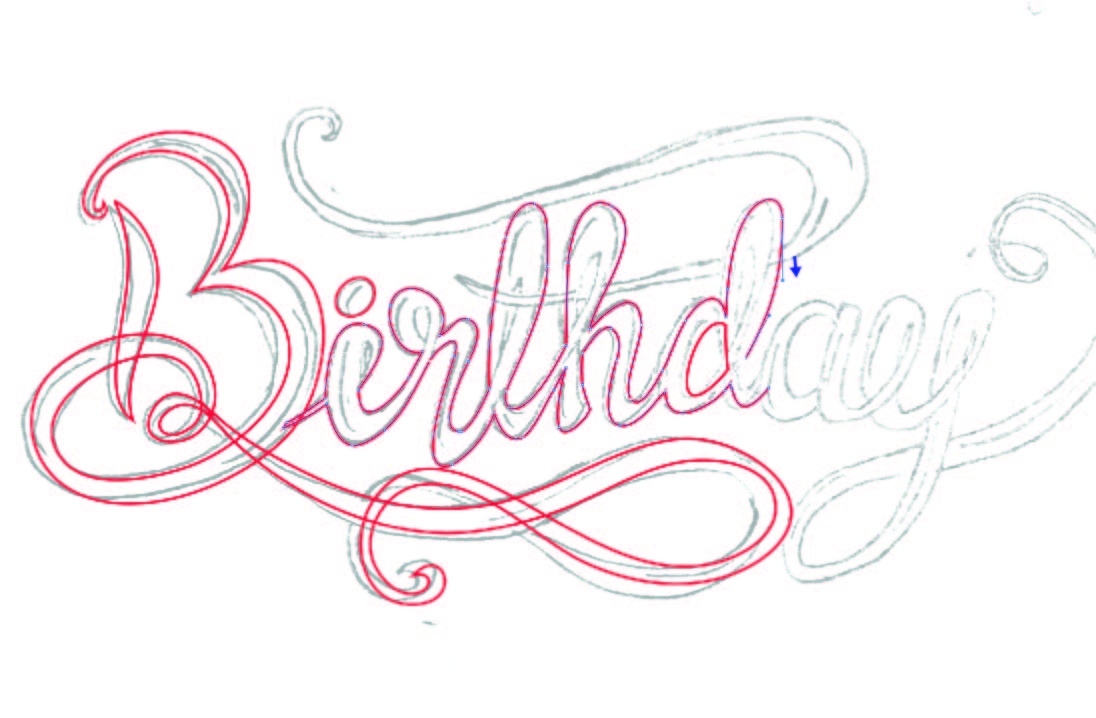
Use as few anchor points as possible to create your shape. Fewer anchor points make a smoother curve.
Add anchor points where there is a change in direction of the curve using the “Add Anchor point tool” (+).
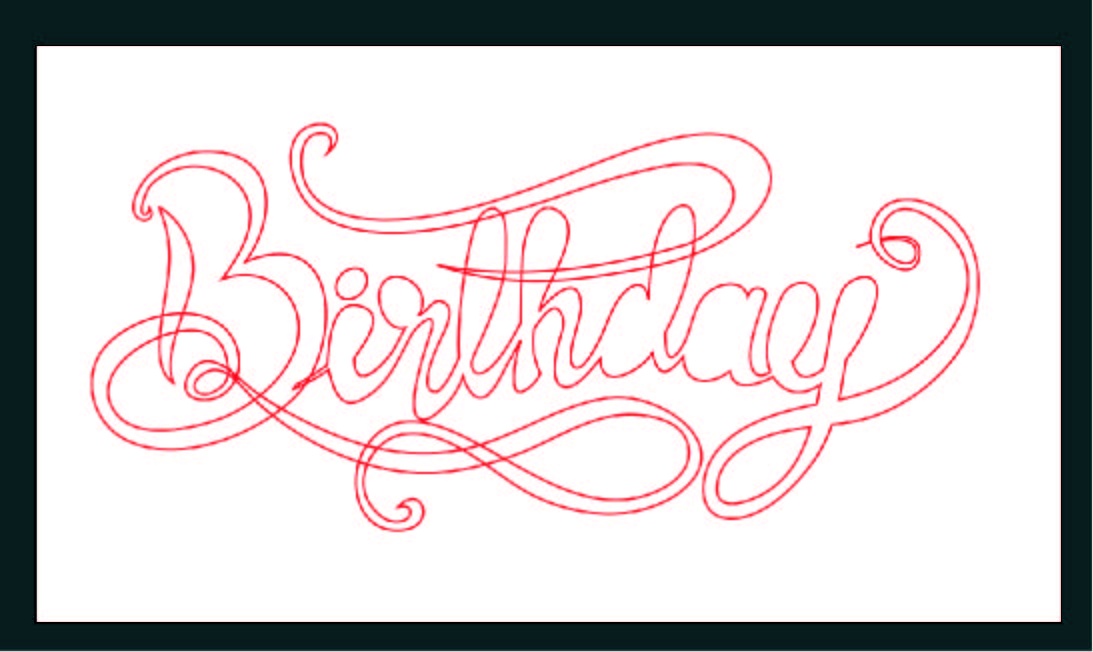
I’m drawing the outlines in a red color for better visibility over the background image. We can change it to a different color later.
After drawing the outlines, we need to draw those little paths inside the “i”, “r”, “t”, “h”, “d”, “a” and “y” and use the Pathfinder option to merge them into a single path. This is how it goes:
- Draw all the inner paths in the same layer as the outer path. In my example, I’m drawing those paths in a different color so you can see them. We need to merge the inner and outer layers into a single path so that we can color them.
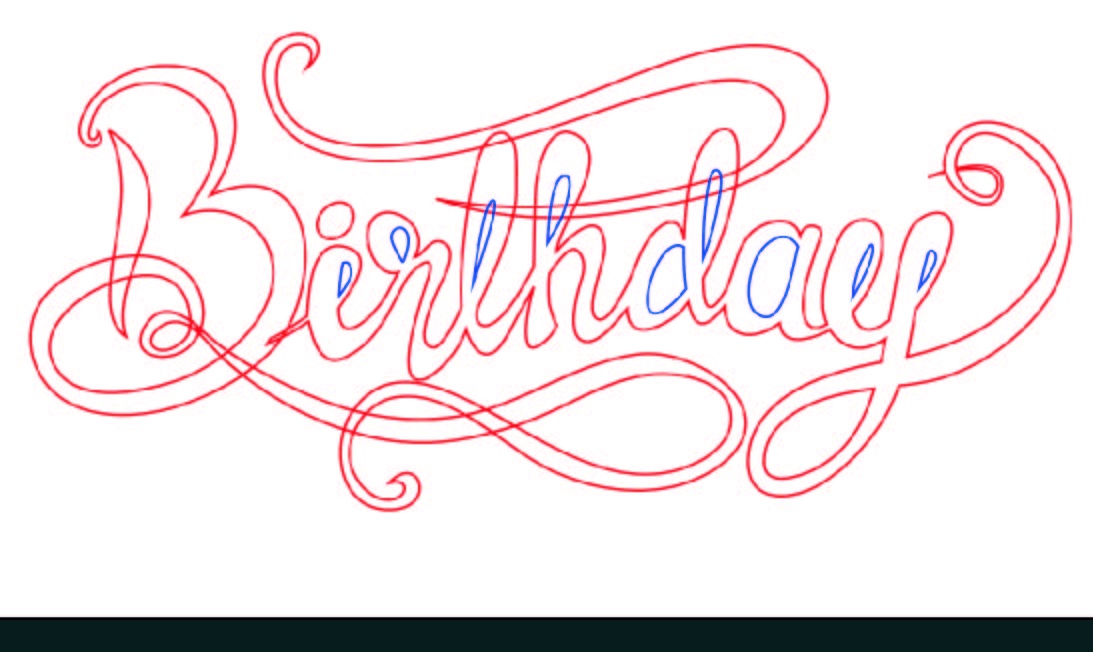
- Now, we need to select each inner path separately and go to Pathfinder > Divide.
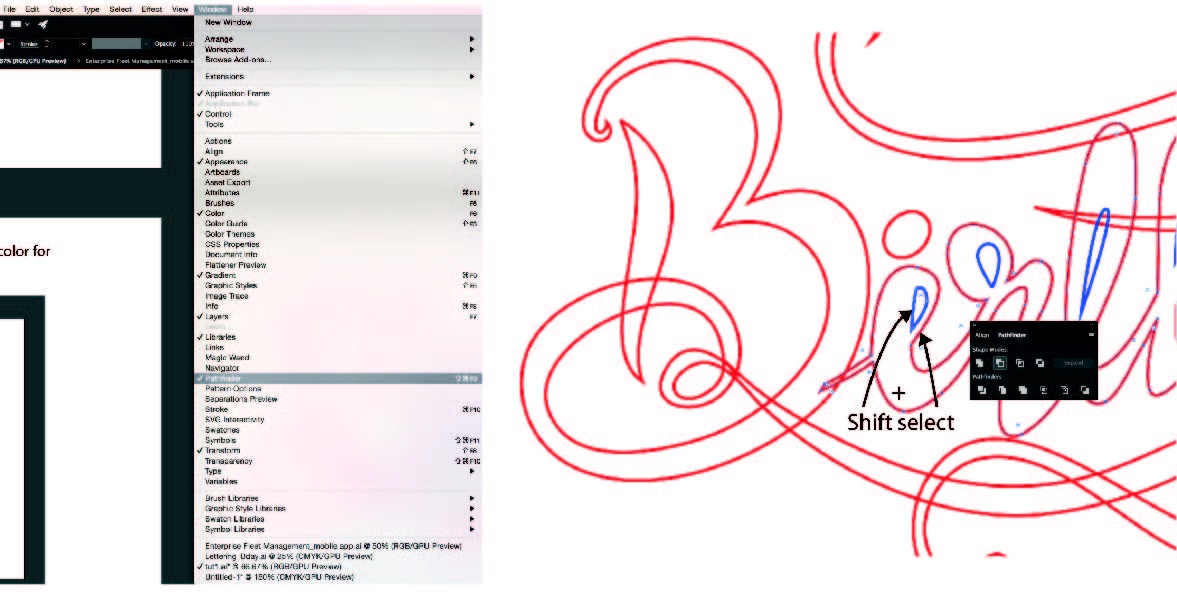
Don’t forget to select the inner path first and then the outer path and then click on the Pathfinder > Divide.

After this process, the inner path color automatically changes to the color of the outer path, which shows that the paths are merged. Repeat this for all the inner layers.
Step 5:
After drawing the outlines, select all the layers with the selection tool (v) and double click on the fill (x) and select the color you like.
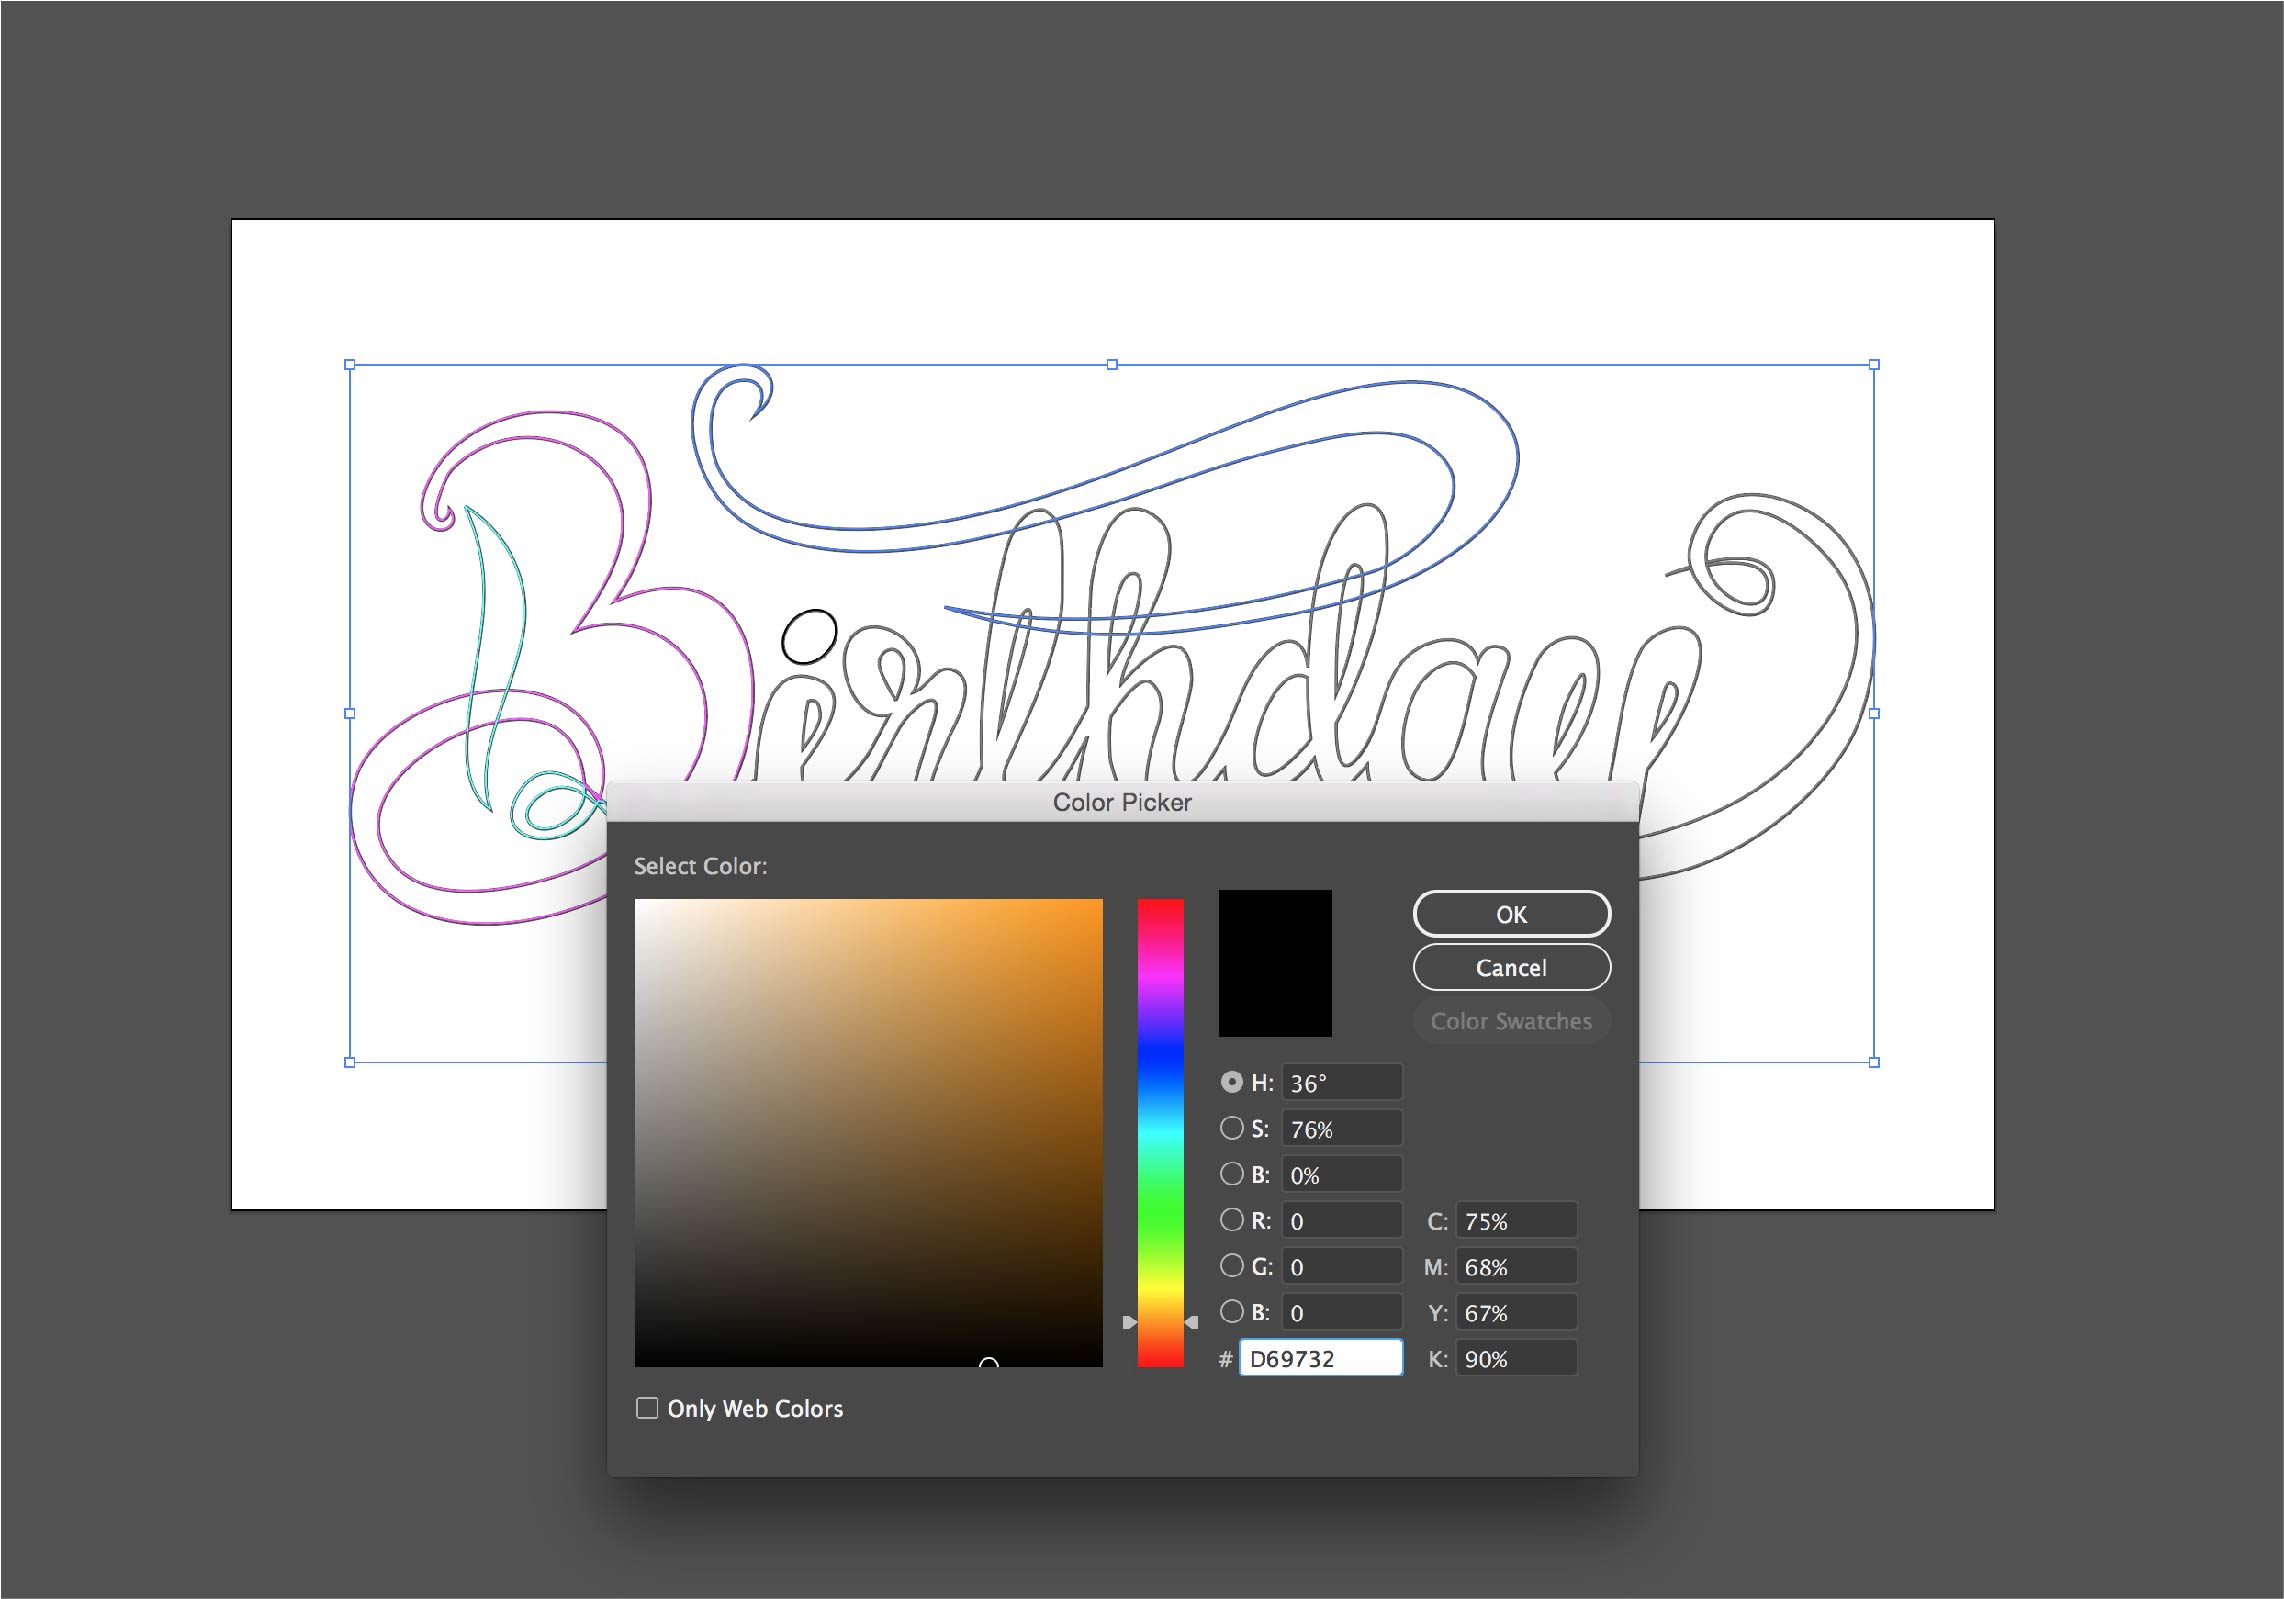
In my case, I removed the Stroke (X) and filled with this color.

Step 6:
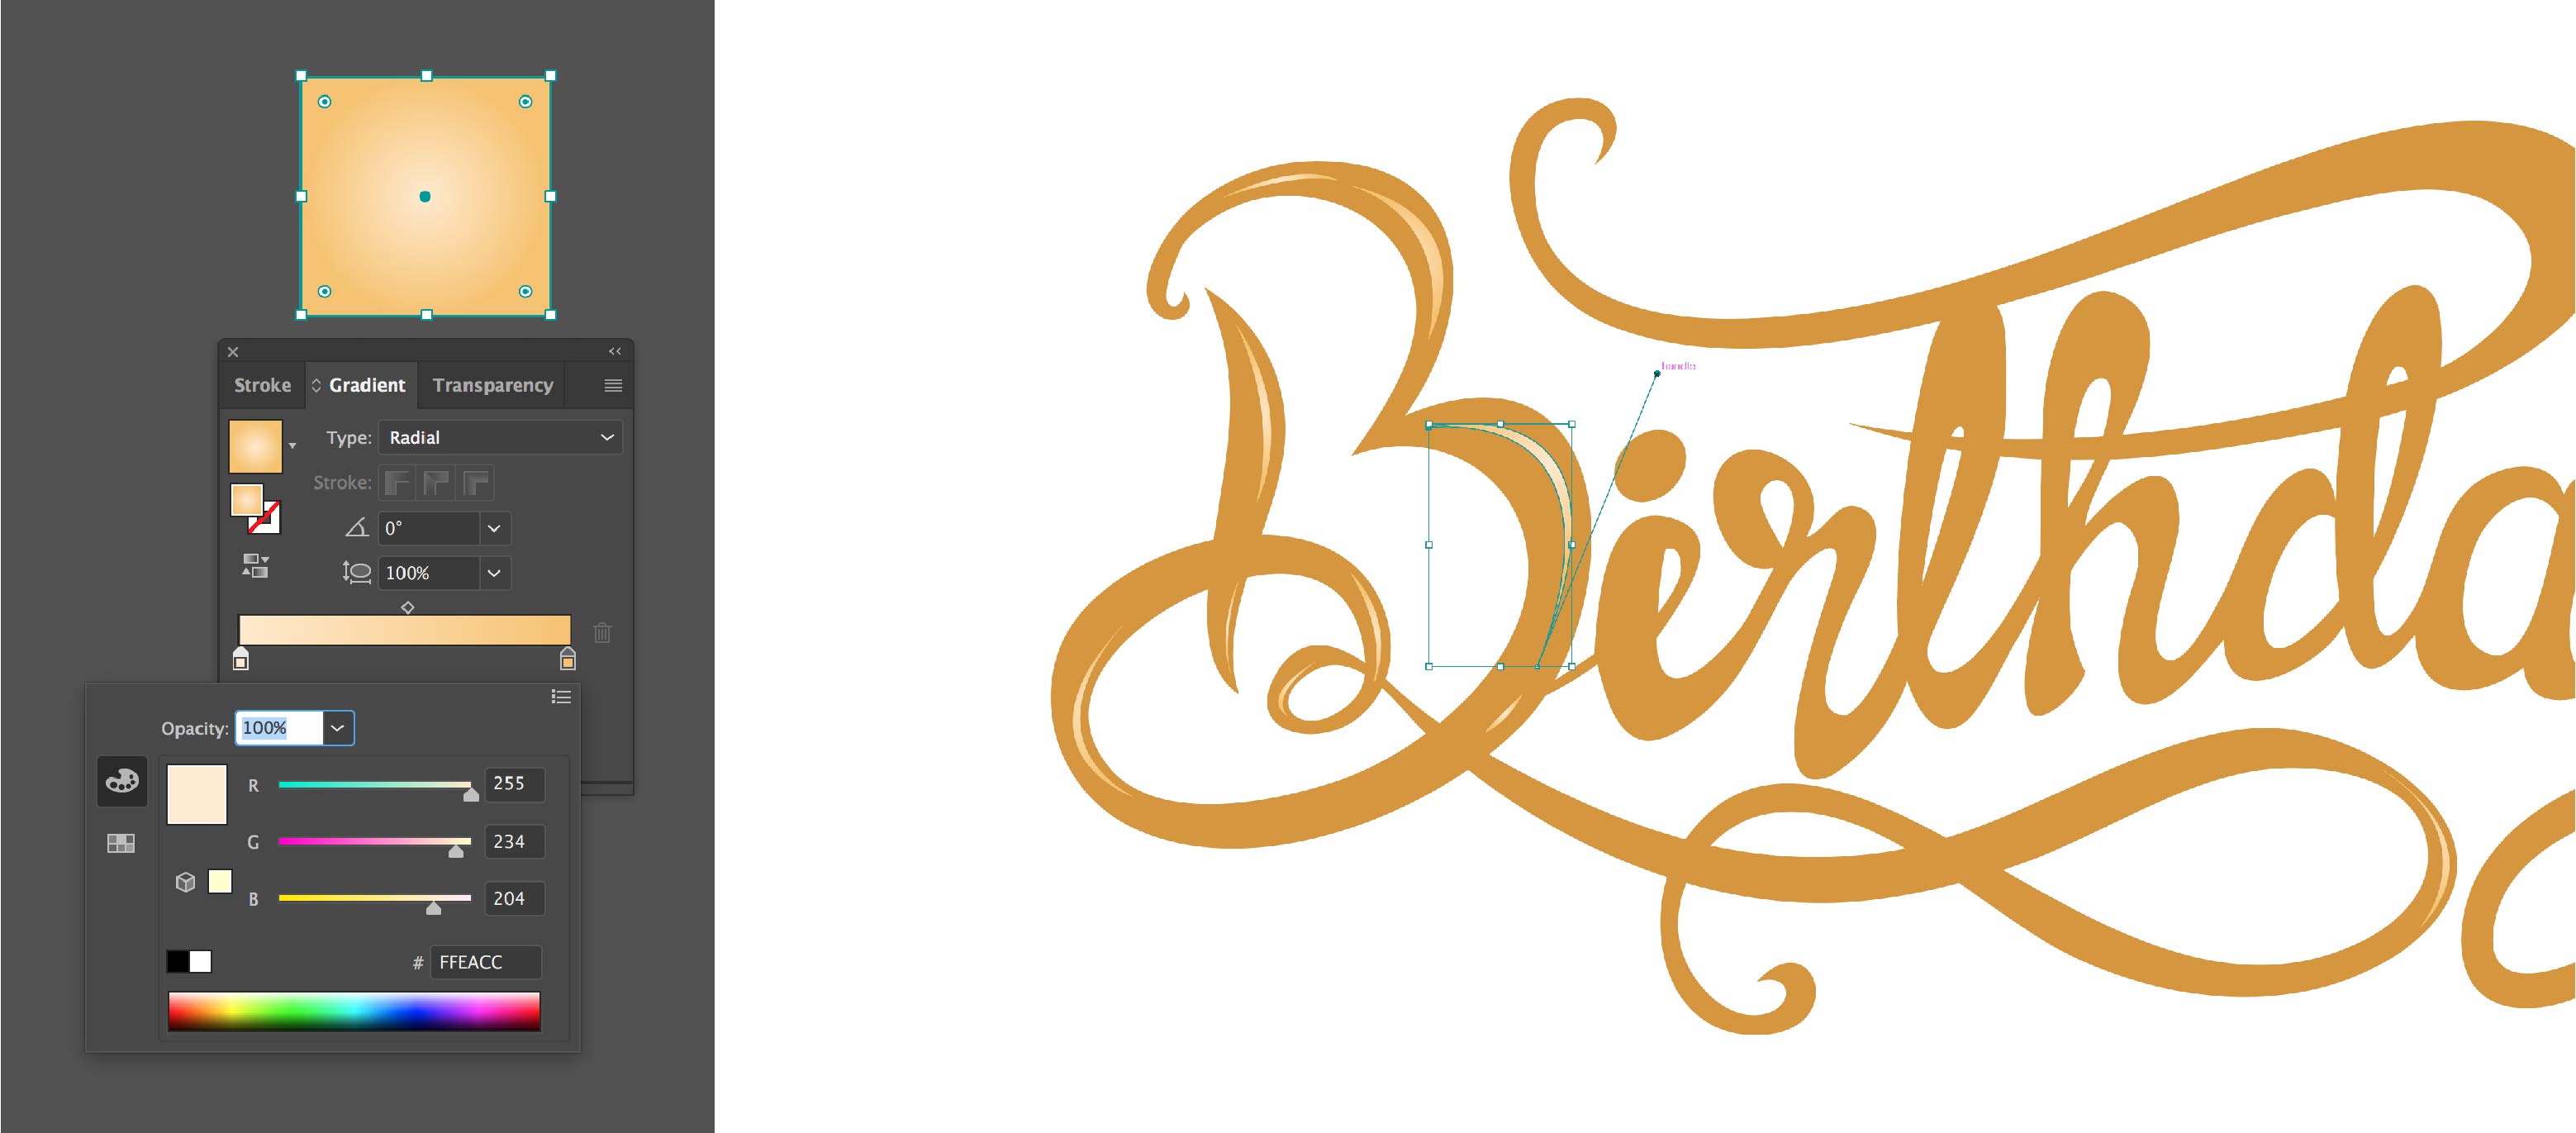
Now, let’s add some highlights to make it more appealing.
Lock the present layer. Create a new layer and start drawing the highlights.
The best way to draw highlights is to imagine as though the light is shining on your design from a specific direction.

Draw the highlight paths using the Pen tool. A lighter gradient color works well for highlights.
Final Step:
Complete drawing the highlights to each letter and add a background layer (create a rectangle in the layer below the text layers) with a suitable color.

Response to “Vectorize your hand lettering”